I often write small scripts I use on my Mac to get stuff done that are a chore to do manually. Some might call this automation, but really it’s just tool-making.
The problem to be solved in this case was padding pictures out to a 16:9 ratio for use as desktop wallpaper on my 4K monitor. I collect many aviation pictures, mostly off Twitter, that I find visually compelling. I wanted to display some of the best as rotating wallpapers but I dislike the solid colour “pill-boxing” bands that macOS adds when you ask it to respect the image with “Fit to screen”.

I’m sure you’ve seen videos online or on the telly where the original is in a vertical or square format and there are blurred sidebars that are made by replicating the video content and blurring it. I decided that would be a good approach for these images which are not 16:9.
I have been using Pixelmator Pro to upscale most images to a 2160 pixel height to get the best quality (the Super Resolution feature is amazing!) and I could also fairly easily duplicate the picture a couple of times, drag the copies to the sides, and add a blur, but it was fiddly. I’m quicker at these sorts of operations in Affinity Photo but it was still too fiddly. So I set about a more automated approach.
The obvious tool for the job is ImageMagick. I had installed it via Homebrew for a previous task so it was simply a matter of finding the right incantations. I originally thought it would need multiple commands to resize the canvas, duplicate and blur the original, twice, and finally composite them together. However in my hunt for the right way to do these I found a forum post which was remarkably close to what I needed and does it in a single invocation of the convert command. Here’s my final version.
#!/bin/zsh
convert "$1" \(
  -clone 0
    -set option:distort:viewport 3840x2160+0+0 -filter point -distort SRT 0 +repage
  -clone 0
    -gravity east
    -compose over
    -composite
  -blur 0x30
  -brightness-contrast -20x0
  -clone 0
    -gravity center
    -compose over
    -composite
  \)
  -delete 0
  "$1"
I’ve formatted the (single line) command so you can see the structure of what it’s doing. The $1 variable is the first argument to the script, being the filename of the original file.
Each clone option creates a new copy of the image, three in total. For the first clone, the set line is a complex way of resizing the viewport to our final 3840×2160 (i.e. 16:9) size without distorting the image, and with this copy at 0,0 — the left side.
The second clone is positioned with gravity east which puts it on the right side. It is composited over the left image.
Next a 30 pixel blur is applied, which applies over what we have so far — the left and right copies of the image. I elected to add the brightness reduction of 20% as well, based on experimentation. Many images don’t seem to need this but bright images do, and it doesn’t look out of place on the darker ones.
The third and final clone is placed back in the middle of the viewport via gravity center and being composited over the now-blurred background now becomes the focal point of the complete image.
Finally, the original image, from which all the clones were made, is no longer needed so is removed from the stack. The resulting composition is written out using the original filename. This last fact conveniently means the script will handle any image format without changing format of the new file. In my case the originals are variously JPEG and PNG.
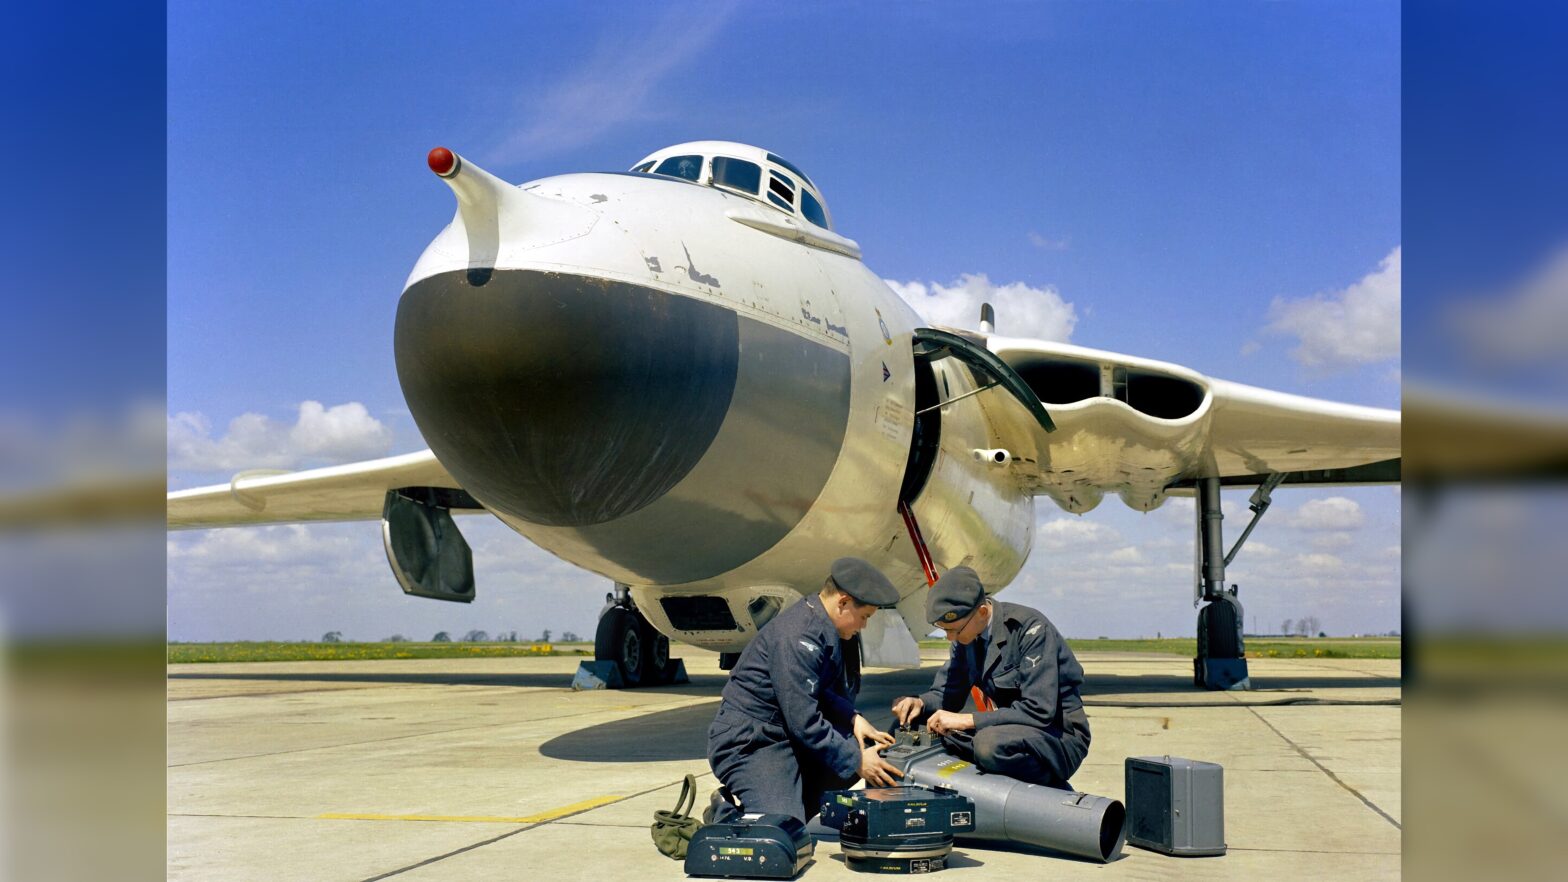
Here’s the result.

So there you have it. I have this script hooked up in Hazel (wherein you will need to specify the full path to the convert command), so when I export an upsized image from Pixelmator Pro I just drop it in my ~/Pictures/Sidebar folder and it gets magically transformed. I have the Hazel rule match images which are exactly 2160 pixels high and less than 3840 pixels wide.